


How to Choose a Camera Bag: A Simple Guide for Every Kit.

To choose a camera bag, size it to the gear you carry most and pick a carry style that suits how you shoot. Then check four things: how you reach your camera, how well the bag protects it, how it feels after a full day and whether it fits in the overhead bin. If you already own a backpack you love, a padded camera insert may be all you need.
I've owned a lot of camera bags. Most of them failed for the same reason. They were built for a kit I didn't have or a trip I wasn't taking. Get those two things right and the rest is easy.
Pick the Right Type of Camera Bag.
|
Type |
Typical Kit |
Strength |
Weakness |
|
Camera backpack |
Body, 3 to 4 lenses, laptop |
Weight on both shoulders |
Slower to reach your camera |
|
Sling |
Body and 1 to 2 lenses |
Camera in hand in seconds |
All the weight on one shoulder |
|
Shoulder or messenger bag |
Body and 2 to 3 lenses |
Easy to work from while standing |
Tiring on long days |
|
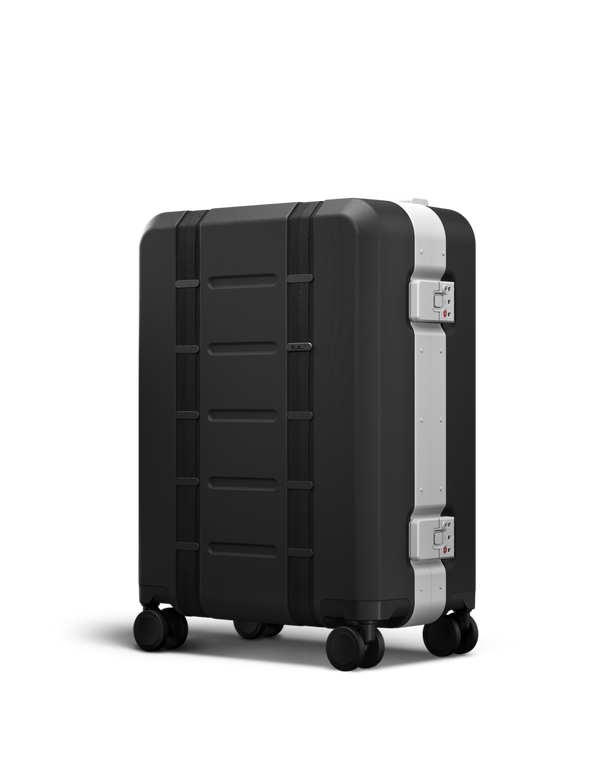
Roller |
Heavy pro kits |
No weight on your body |
Stairs, trails and snow |
|
Camera insert |
Depends on the insert size |
Works inside a bag you already own |
Needs a bag it fits |
|
Hard case |
Fragile or expensive gear |
Crushproof and sealed |
Heavy and bulky |
Most people end up choosing between a backpack and a sling. The test is simple. If you walk more than an hour with your gear, go for a backpack. If you shoot on the move and want the camera in your hand in seconds, go sling.
Start With the Gear You Carry Most.
Lay out the kit you take on a normal shoot. Not the dream kit. The real one.
A mirrorless body with two small lenses needs a lot less space than a full-frame body with a 70-200mm. As a rough guide, a small mirrorless kit fits in a 10 to 15 liter bag. A full-frame body with three or four lenses and a laptop needs 25 to 35 liters.
Leave a little room for the next lens. Not a lot. Empty space lets gear slide around, and a big bag tempts you to carry things you never use.
Db photographer Hallvard Kolltveit has a simple rule against that. In his Pack Heavy → Chase Light episode he only brings gear that can do more than one job. Run your kit through the same filter before you size the bag.
Match the Bag to What You Shoot.
Different kinds of photography stress a bag in different ways.
-
Travel: a carry-on size backpack with rear or full access and a laptop sleeve. Or a camera insert inside the travel pack you already use.
-
Hiking and outdoors: side access, a hip belt and straps for a tripod. Every extra feature adds weight, so only pay for the ones you'll use.
-
Street: small and light with quick top access, so you can shoot without stopping.
-
Weddings and events: a base bag that stays in one spot, plus a small bag for the one body and lens you carry all day.
-
Video: more room for batteries, microphones and cables. Deep compartments and a full opening make life easier.
Dedicated Camera Bag or Camera Insert?
This is the question most buying guides skip. You don't always need a separate camera bag. You can add a padded camera insert to a backpack, sling or carry-on and get the same protection.
A dedicated camera bag makes sense if you shoot most days. Everything has a fixed place and you never have to set it up.
An insert makes more sense if your camera is only part of the trip. On a ski day or a weekend away you can carry clothes and food on top and the camera underneath. At home you lift the insert out and the bag goes back to normal life.
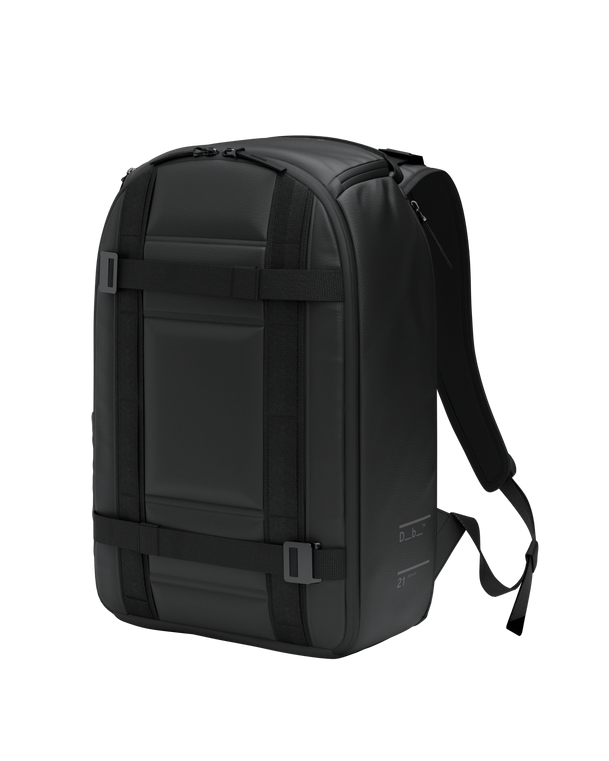
Our Ramverk Camera Inserts come in four sizes with dividers you can move around. The S and M fit our Ramverk Pro Backpack 26L. The Ramverk Pro Backpack 32L takes the S, M and L, and the L fits a full-frame body or a mid-size cinema camera like a RED KOMODO. The S also turns the Ramverk Pro Sling Bag 24L into a camera sling.

Check How You Reach Your Gear.
Access decides how many shots you miss. Bags open in four main ways:
-
Top access. Quick for one camera. Hard to see what's at the bottom.
-
Side access. Swing the bag around and pull the camera out without taking it off. Great for hiking.
-
Rear access. You open the side that sits against your back. Slower, but nobody can open it in a crowd.
-
Front or full opening. The whole bag opens like a suitcase. Best for packing and swapping lenses at a table.
Many good bags combine two of these. For travel I want rear or full access for packing and one quick side or top opening for the camera.
Think about security too. A bag covered in camera logos tells everyone what's inside. A plain design and rear access make you a much less tempting target in a busy city.
Look for Protection From Bumps and Weather.
Padding matters, but structure matters more. A bag that holds its shape protects your gear when it gets squeezed in an overhead bin or dropped on a rock.
Check for:
-
Adjustable dividers you can set up for your own lenses.
-
A padded base. Bags get put down hard.
-
A separate padded sleeve for your laptop, away from the lenses.
-
Zippers that close smoothly with one hand.
Once you have the bag, our guide on how to pack a camera bag shows you how to set it up step by step.
Don't forget the small stuff. Memory cards, spare batteries, chargers and cables end up at the bottom of every bag. Give them their own pockets or a pouch like our Ramverk Tech Organizer so you can find a fresh card in the dark.
Then think about the weather. Look for water-resistant fabric and covered zippers, and check whether a rain cover is included or sold separately.
Cold is the other enemy. Batteries drain faster in low temperatures. Keep spares in an inside pocket close to your body and swap them as the day goes on. When you come in from the cold, leave the bag closed for a while. It gives your gear time to warm up slowly and keeps condensation off the lenses.

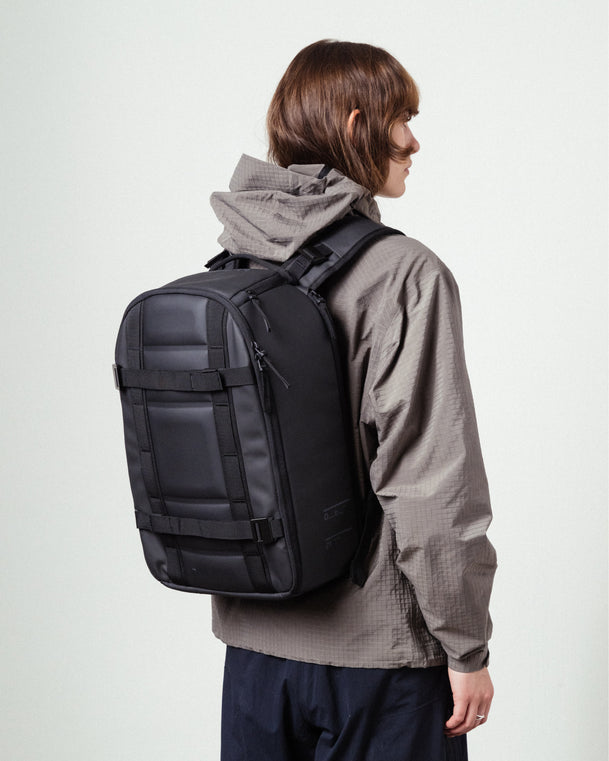
Make Sure It's Comfortable for a Full Day.
A camera bag that hurts is a bag you'll leave at home. Look at:
-
Padded shoulder straps that don't dig in.
-
A chest strap to keep the bag from swinging.
-
A hip belt if you carry more than about 15 pounds.
-
A back panel that breathes.
Photographer Isami Kiyooka spent weeks shooting in Livigno with days of up to 17 hours. His verdict in Behind the Lens in Livigno sums it up: "You don't realise how important your bag is until you're living out of it for weeks."
Size It for the Cabin If You Fly.
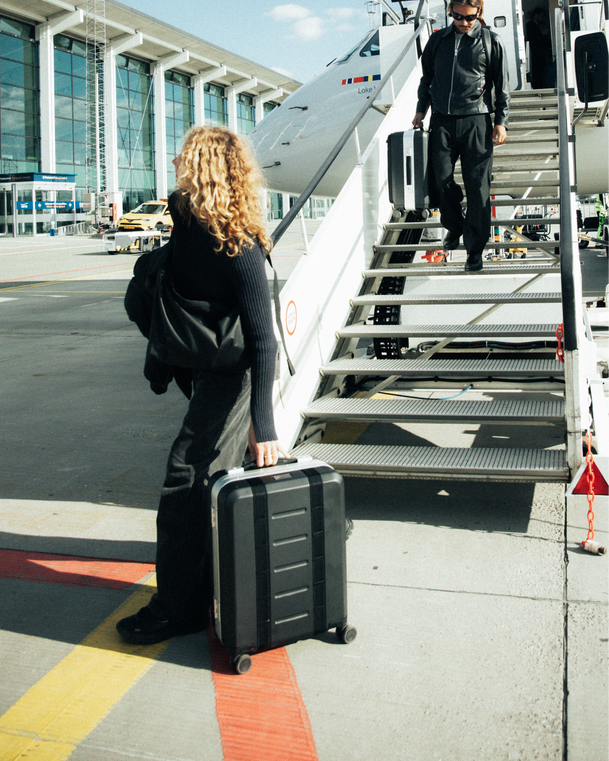
Never check your camera gear. Take your camera bag on the plane, which means it has to fit the cabin. Most big US airlines allow a carry-on up to 22 x 14 x 9 inches, but always check your airline before you fly. On strict airlines a small camera bag can travel as your personal item under the seat, with your clothes in the overhead bin.
Batteries have their own rules. The FAA says spare lithium batteries must travel in carry-on baggage only, and most camera batteries fall under the 100 watt-hour limit. If your bag gets checked at the gate, take the spare batteries out and keep them with you. You'll find the details on the FAA's battery page.

Test It Before You Commit.
Photos and spec sheets only tell you so much. Put any bag through these five tests before you keep it:
-
Load it with your real kit. Not the shop's foam blocks. Your bodies, your lenses, your laptop.
-
Wear it for ten minutes. Walk some stairs and bend down. Notice where it pulls.
-
Reach your camera. Do it the way you would on a shoot, ideally without taking the bag off.
-
Fill the extras. Water bottle, jacket, tripod. A bag that only fits the camera won't work on a real day.
-
Check the return policy. If you buy online, take the bag on one short shoot before the return window closes.
If it passes all five, it's the one.
Frequently Asked Questions.
Is a Camera Backpack or Sling Better?
A camera backpack is better for big kits, long walks and travel because it spreads the weight across both shoulders. A sling is better for street and day shooting with one body and one or two lenses, because the camera is quicker to reach.
Can You Use a Regular Backpack as a Camera Bag?
Yes, with a padded camera insert. The insert holds the camera and lenses in place with adjustable dividers, while the rest of the backpack carries clothes, food or a laptop. It's a good option for people who only bring a camera on some trips.
What Size Camera Bag Do I Need?
A small mirrorless kit with one or two lenses usually fits in a 10 to 15 liter bag. A full-frame body with three or four lenses and a laptop needs around 25 to 35 liters. Size the bag to the kit carried most often, with a little room to grow.
How Should You Set Up a Camera Bag?
Place the camera body in the center with the heaviest lens next to it, then fill the remaining spaces with smaller lenses. Adjust the dividers so no two items touch. Keep memory cards, batteries and cables in separate pockets so they don't sink to the bottom.
Does a Camera Bag Need to Be Waterproof?
Most photographers only need a water-resistant camera bag. Water-resistant fabric, covered zippers and a rain cover handle most rain and snow. Fully waterproof protection usually means a sealed hard case, which is heavier and slower to work from.